To set the path for the project templates in Revit, go to File > Options and select File Locations from the list on the left side.
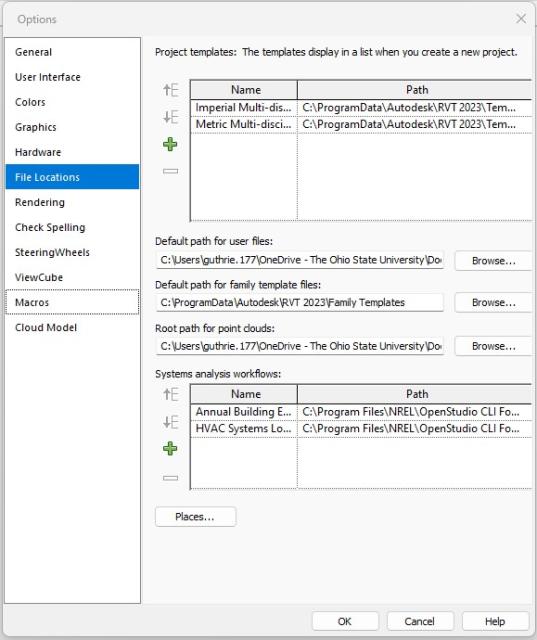
Click the green plus button at the top of the dialog box under Project Templates and browse to the network or OneDrive folder location where the project template(s) are saved. If there are multiple types of project templates, select the one that will be the default and click Open to add this path to the list.
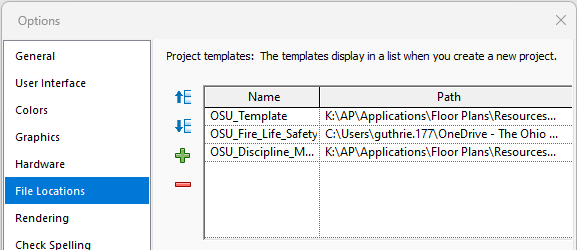
Next, make sure the path to the default OSU template is at the top of the list by highlighting that line and using the blue up arrow to move it to the top. You can repeat the process by adding the path to any other template file you would like to have as a pull-down option when you start a new model. You may also choose to remove the paths to any out-of-the-box templates that should not be used by highlighting the row(s) and using the red minus button to remove them from the list.
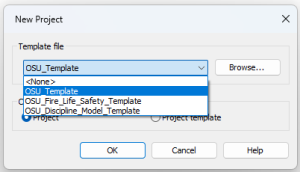
Note that you can still browse to any template file if you wish; this process just sets the default to make model setup easier.