This article describes how to install Revit 2019.
Revit 2019 should only be installed if you have a specific need for it. Otherwise, Revit 2024 should be used as all OSU Owner Models are managed in 2024. For instructions on installing Revit 2024, visit the Installing Autodesk Software article.
- Download the installer file.
- Enter local administrator username and password when prompted (this is the only time an administrator password will be required).
- The installer will download the rest of the installation files.
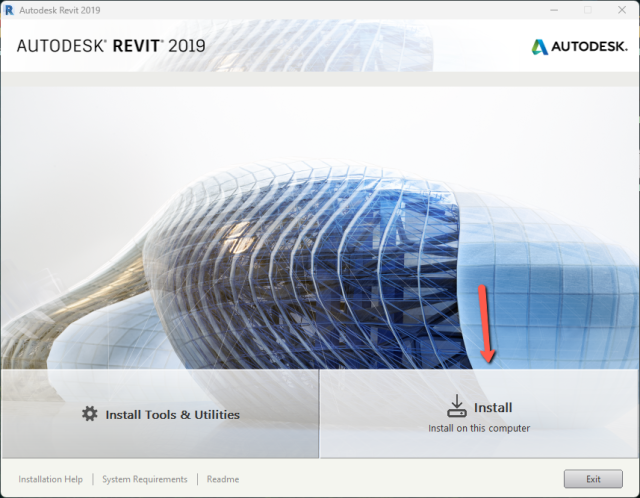
Click on Install.
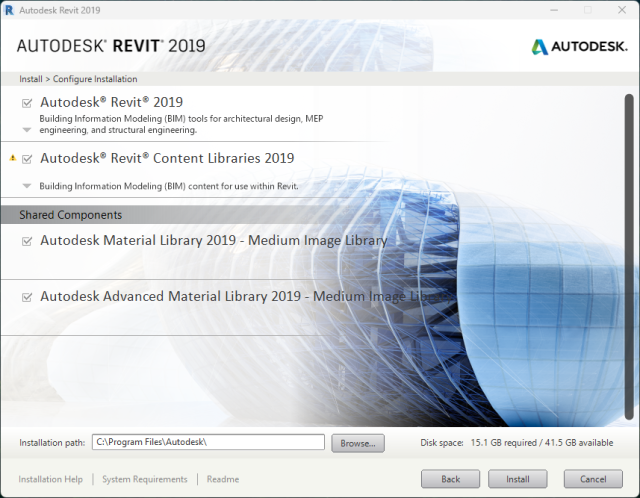
No changes are needed on the following page. Click Install.
Note: The installer will download and install the remaining files. This process will take between 30-90 minutes on average.
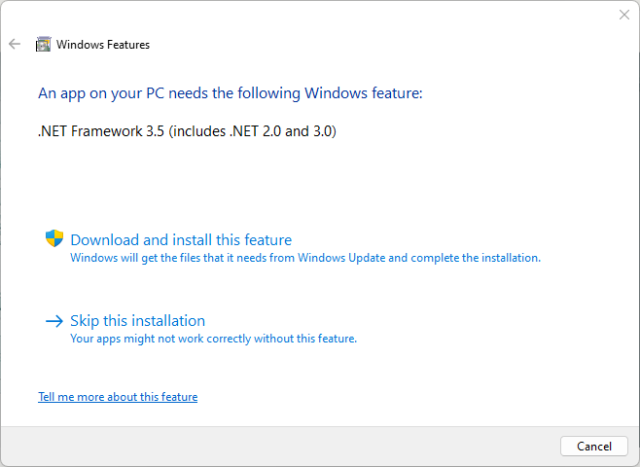
If you are asked to download and install additional component (such as the one below), do not skip it. If this fails to install, talk to your IT department about installing the software noted separately.
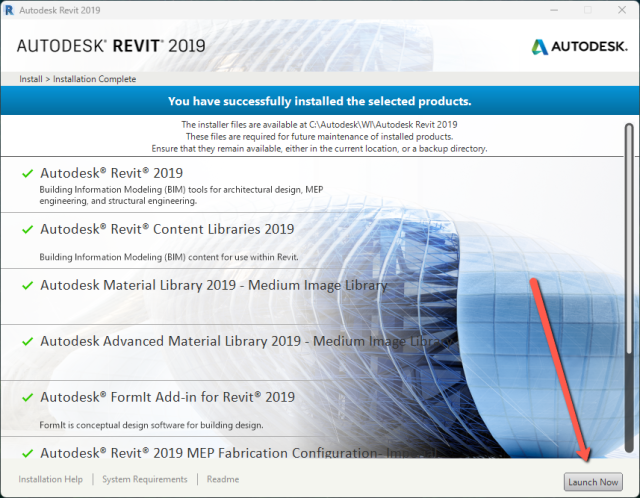
Once it is complete, click Launch Now.
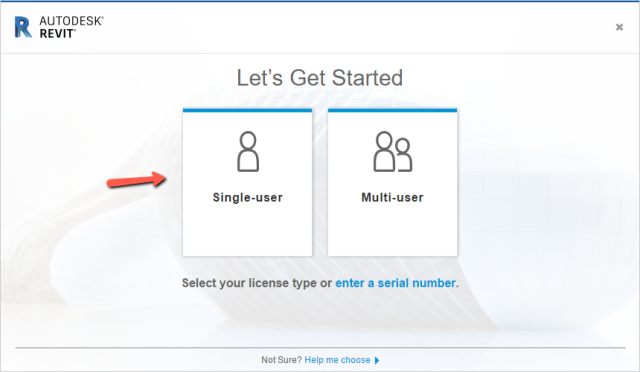
Choose Single-User.
If you have not already logged in to another Autodesk product, you will be asked to login with your Autodesk ID (use your osu.edu email address).