This article demonstrates how to view and save or print floor plans color-coded by theme in SIMS. See the SIMS User Guide for other instructional SIMS articles.
Viewing Building Floor Plans with themes enabled displays space data via color-coding overlayed on the floor plans. These color-coded floor plans are printable or downloadable, as outlined in this article. Available themes include Cost Center, Function, Room Type, and more.
This article includes two methods of printing drawings with themes:
Individual Floors
Printing by individual floors is a particularly useful method if you’re only needing a few floors, need separate files, or if you’re browsing space data in the Facility Information module and find something you’d like to download. You can also follow these steps to change colors/patterns for the multiple floors method if some of them are too similar to distinguish. If you need more than just a few floors or want multiple floors in a single file, you should consider using the Multiple Floors method.
- Open the Hamburger Menu.
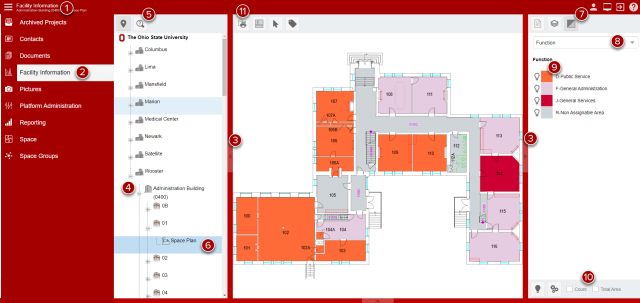
- Select the Facility Information module.
- Open the Navigation Panel on the left and the Information Panel on the right if collapsed.
- In the Navigation Panel, use the Location Tree to navigate to the desired plan by using the “+” buttons to expand the appropriate Campus, Building, and Floor.
- If you’re unsure of the exact Campus or Building name, you can use the search function to find the floor plan. To do this, click on the magnifying glass with the question mark inside, type a portion of the name into the “*Matching” field, then hit enter on your keyboard. A list of floors in the buildings that match the filter parameter will appear below.
- Click on the text “Space Plan”. The plan may take a minute to load.
- Click on the Themes icon in the Information Panel on the right. If you hover over the icon, the word “Themes” should appear.
- Click the down arrow next to “Select Theme…” and select the Theme by which you’d like the plans to be color-coded. After clicking on a Theme, a color-coding overlay should automatically be generated and appear, then a key/legend should appear in the Information Panel.
- If colors/patterns are too close to be distinguishable, they can be edited. To edit the color/pattern, click on the color/pattern swatch in the key/legend. A pop-up window with color/pattern options will appear. Make changes as necessary then click “Save” to apply the changes.
- If you would like the room count or total sum area of the rooms assigned to the chosen theme to show in the key/legend, check the respective box at the bottom of the Information Panel. Note: If you do not need to download or print the file, this is your last step.
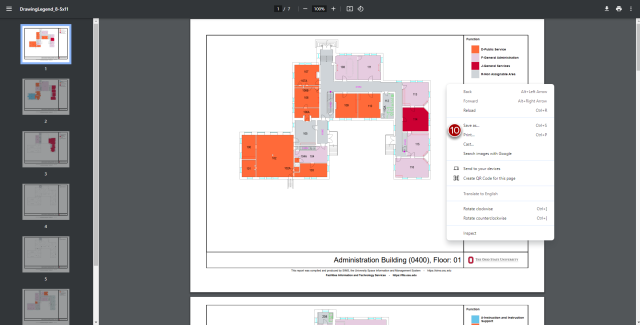
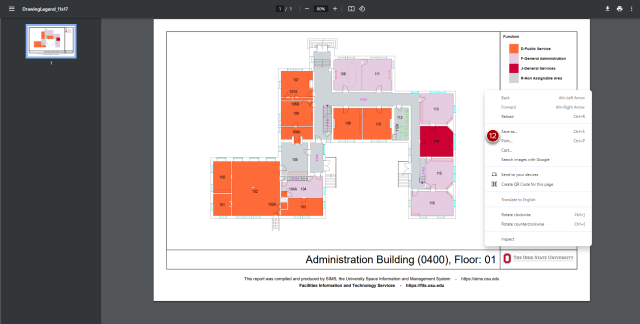
- Click the File Options icon, a file folder and a printer. If you hover over the icon, the words “File Options” should appear. Click “Reports”. Click the drop-down arrow and select “Drawing with Theme”, then click “Preview”. The file will take a minute to generate, then a pop-up window with the plans should appear.
- Save or print the file by right clicking then selecting the save option or print option.
Multiple Floors
Printing by the multiple floors method is particularly useful if you’re needing multiple floors in a single file.
- Open the Hamburger Menu.
- Select the Reporting module.
- Select “Drawing with Theme” with the desired size in the table.
- In the Navigation Panel, use the Location Tree to navigate to the desired plan by using the “+” buttons to expand the appropriate Campus, Building, and Floor.
- You can select an entire building by checking the white box to the left of the building, but this option will report all floors including roofs. Alternatively, you can expand buildings and select only desired floors.
- Multiple floors in multiple buildings can be selected, but it is recommended that you restrict your selection to a single building at a time. Attempting to produce a Drawing with Theme report for multiple buildings may take a very long time to publish.
- Click the drop down arrow next to “Category” and select “Space Plan”.
- Click the down arrow next to “Theme” and select the Theme by which you’d like the plans to be color-coded.
- “Space Label” may be left blank if you only want the room number to label the rooms.
- “Area” adds room areas to rooms in the drawing.
- "Audit" adds the last date of audit to rooms.
- “Default Space” adds Space IDs and areas to rooms.
- “Occupant” adds employee names to their assigned spaces.
- “Room & Area” adds Room Numbers and room areas to rooms in the drawing.
- "Room Number, Area, Room Type, and Occupant" adds Room Number, Area, Room Type, and employee names to rooms.
- "Names" will only appear if departments have been assigned to them.
- If you would like the room count or total sum area of the rooms assigned to the chosen theme to show in the key/legend, check the respective box at the bottom of the Navigation Panel.
- Click the Preview icon, a sheet with a magnifying glass over the corner. If you hover over the icon, the word “Preview” should appear. The file will take a minute to generate, then a pop-up window with the plans should appear. Note: If the generated plans have some colors/patterns that are too close to be distinguishable, they can be edited. See the Individual Floors method to update. After updating, restart the Multiple Floors method.
- Save or print the file by right clicking then selecting the save option or print option.